Guidelines for Using the SES CPA
Welcome to the SESCPA Database, a repository for Current Practices in Social, Ecological Science.
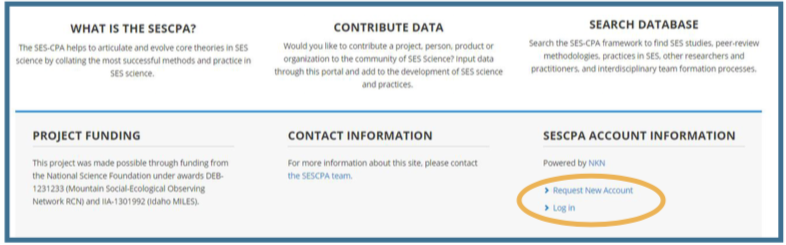
The database is open to be searched by anyone, if you would like to deposit a project, the first step is to create a new account.
You can register by either clicking on the ‘Contribute Data’ icon, on the home page.
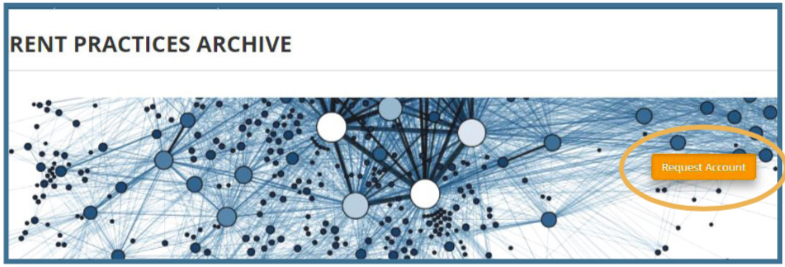
or by selecting ‘Register new account’ in the bottom right of the site.
Once you have filled out the required information, you will receive a confirmation email and be directed to the login page, where you can enter your new account information.
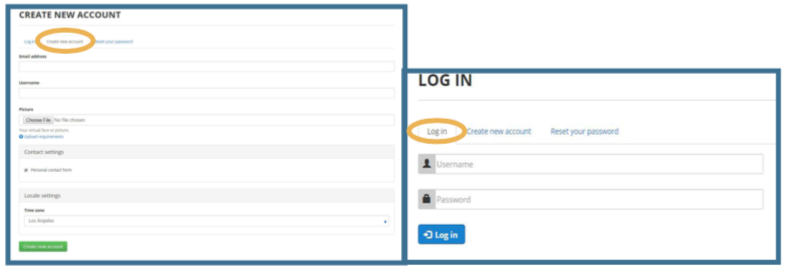
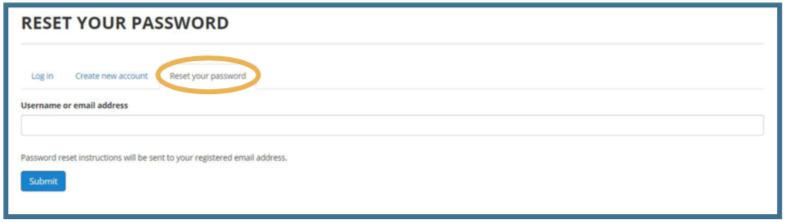
If you ever forget your login information, select the ‘forgot password’ link and input your email. A confirmation message with a one time log in link will be sent to your inbox, and you will be ale to create a new password.
Once you have logged in successfully, you can begin to make deposits into the database, by selecting ‘add content’ in the left of the new content bar at the top of the website.
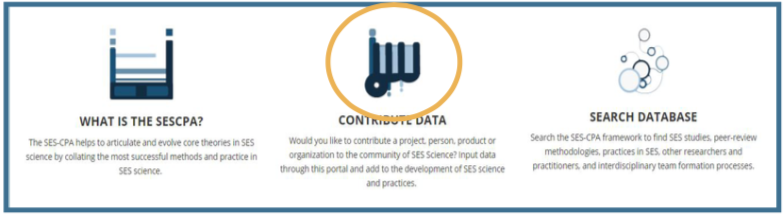
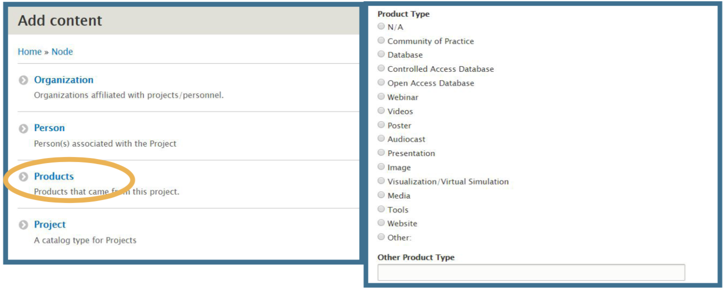
Inside the Add content window, there are some choices on what kind of ‘node’ your project falls under. Select whether you would like to input a person, project, product or organization. You can always go back and add more nodes to your project.
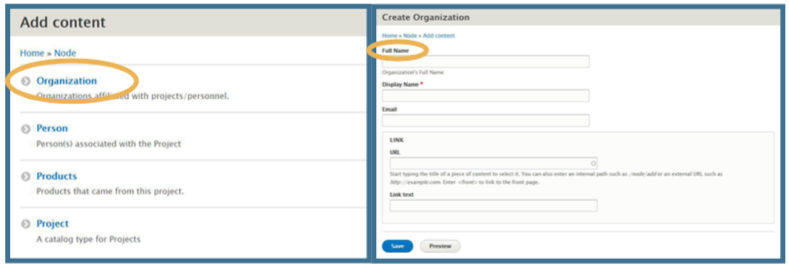
Creating an Organization
If you select the Organization node, you will be directed to the Organization content input page. Here you will be able to input the information of your organization. In the ‘Full name’ box please input the full descriptive name of your organization.

The Display name can be the shortened version of the name that viewers will see first.

Remember to include an email, for contact information, and copy a link for your organization’s website. The URL is where to put the direct path of the website. Enter the entire path into this box. The site will direct you on the proper format of your URL. What is entered in the text box is what the viewer will see and click to reach that web location.
When you have entered and reviewed all of your content, be sure to click on the blue ‘Save’ button to input your organizations’ information.

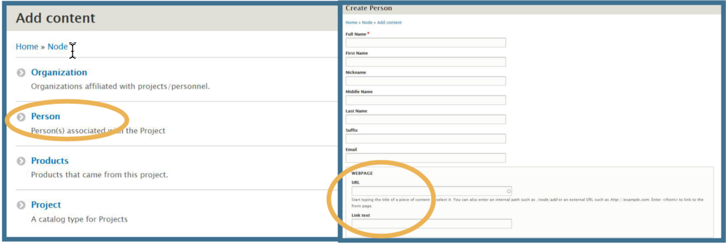
Creating a Person
In this node you can input the key players of your project. Include their name, preferred email, and any links to affiliated search engines.

The search engine paths, function the same way as the website link input features (see pg.3 of these guidelines) The ‘Affiliations’ box is where to link this player of this project to an organization,(see pg. 3 of these guidelines). You can now select ‘Add Existing Organization’ to add the Organization node that was input in the previous stage.
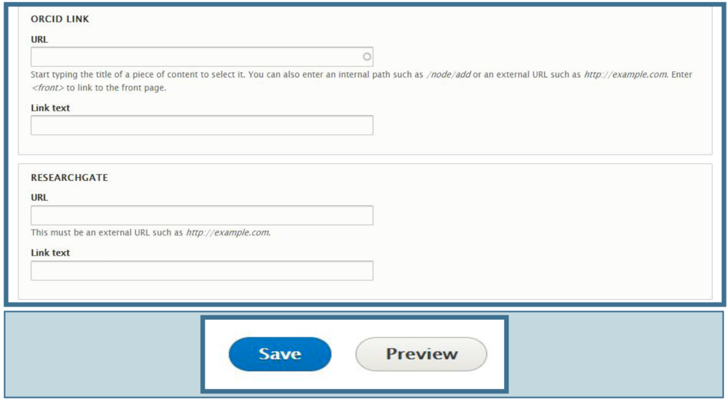
or, if you started in adding persons you can input new information by clicking on ‘Add New Organization’.
Creating an Product
This is the node to add any products that came out of your project. Select the type of product you are entering, if your product is not listed be sure to enter it in the box provided for ‘Other’ types of products. More than one product may be entered.
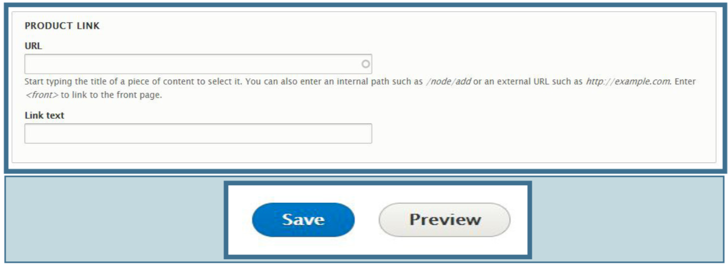
Be sure to be clear in your descriptions of the product being provided. Perhaps describe the products intended purpose in the description box.

The URL is the last portion in the products node, include the whole path in the URL and use descriptive text in the ‘Text’ box for viewers to click on.
Creating an Project
In the Create a Project node, this is where to include most of the information of your project. The tabs on the left are the categories of information that may be entered into the database. The center column is the content input area.
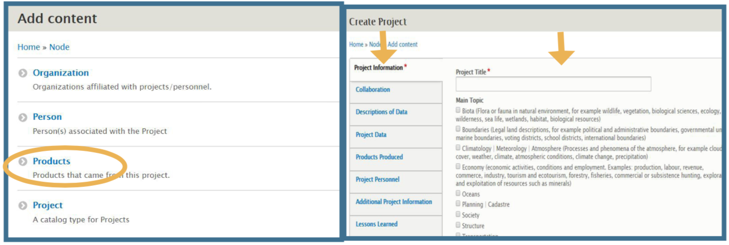
The first tab is where to input the title of your project.

It is also where to identify the Main Topic of your project by checking the box to the right of the chosen topic. These Main Topics are from the Geospatial Metadata Standards, NAP of ISO 19115 Topic Categories. Include any subtopics that are relevant.

If your project is under a different topic category choose the tick box designated ‘Other’ and type the appropriate main topic in the provided text box.
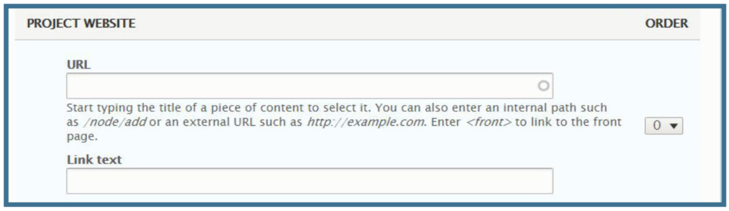
Input the URLs and text for any associated webpages.

If there is more than one webpage click on the ‘Add Another Item’ button.
The remaining tabs, run through a series of topics to fill in using check boxes and text description boxes.

In the Project Data tab, under Data Types, Data Sources and Data Formats, simply begin to type in the name of your Type, Source or Format, and a drop down menu will appear with either Types, Sources or Formats respectively, to choose from.

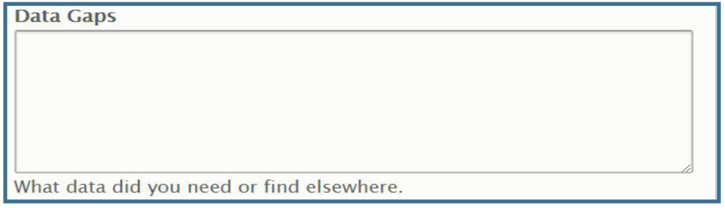
The Data Gaps box is where to list any data that you may have needed that you did not find.
The Products Produced and Project Personnel tabs, are where you can link your project to other nodes that were created previously in the guidelines (see Persons and Products), or to add new nodes. In both tabs there is additional information to include about how that particular node connects to the project node.
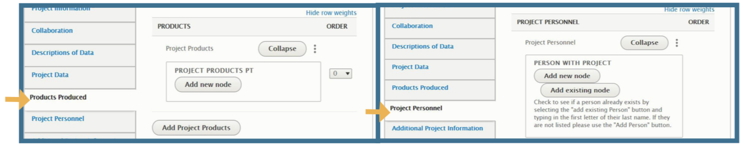
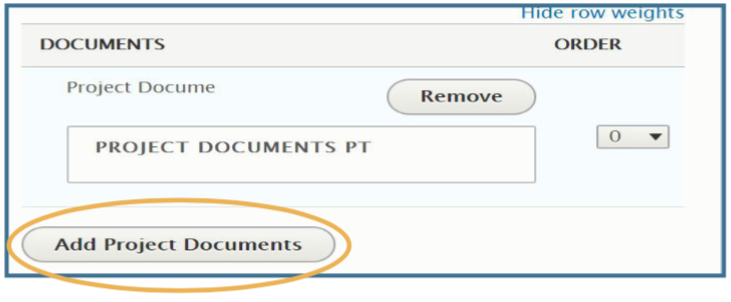
The drop down on the right under Project Products allows you to create a hierarchy of the products that you input.

If a hierarchy is not needed for your project products select the blue ‘Hide row weights’ text above Order.

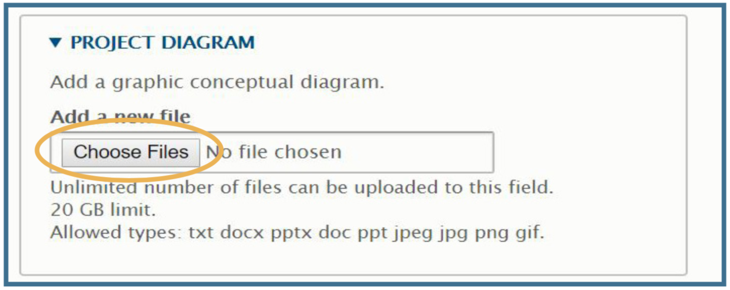
In the Products Produced tab include any documents that relate to the products included in the database. To include more document select ‘Add Project Documents’.
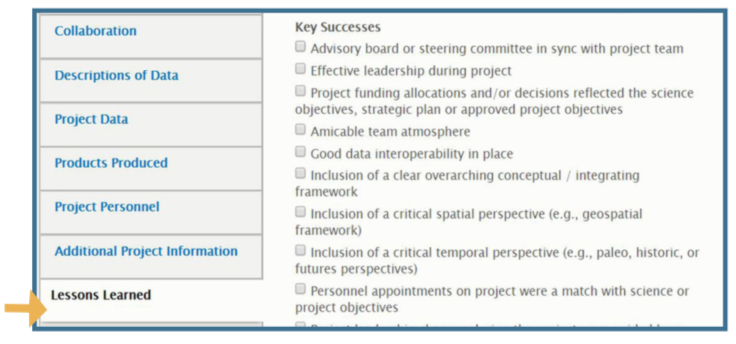
Additional Project Information is the place for any information that you may have on your topic, that you feel needs more explanation or was not included in the cataloging process in this database.
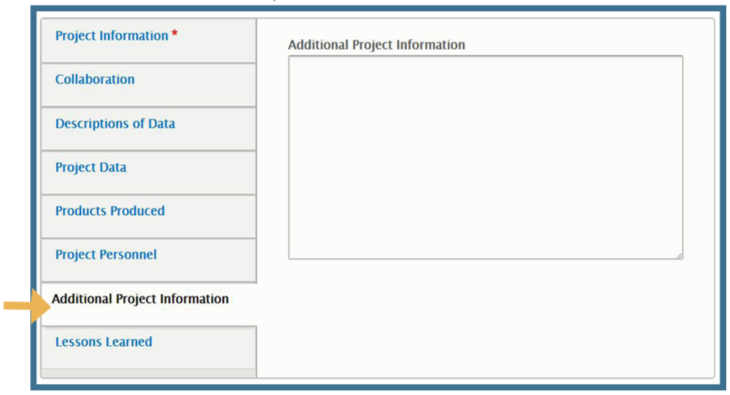
Be sure to remember to fill out the Lessons Learned tab, for other researchers looking to do similar projects and to expand the body of Social and Ecological Systems knowledge.